![]()
![]() Synclavier
II restoration and upgrade
Synclavier
II restoration and upgrade
Page 6
of a pictorial record of the restoration of a Sync II in June 2005
Step 31.
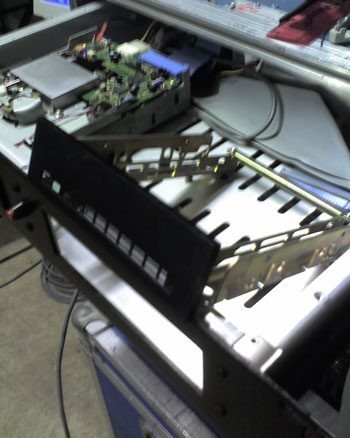
This picture makes my eyes go funny. We had a bad spell of weather and the low light level made a blurred picture.This is a dummy frame to fit to 3.5" hard drives to make them look like and fit like the older 5.25" drives.
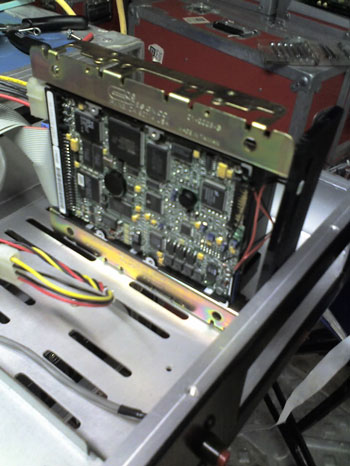
Here is the drive fitting snugly into the frame and connected to power and data.
Step 33.
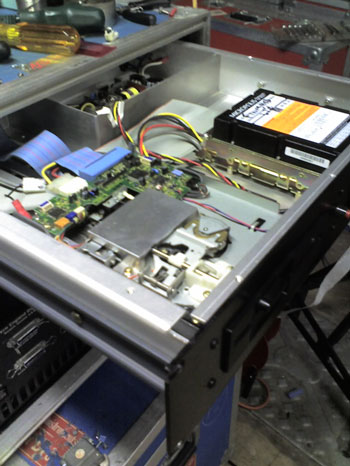
The drive tray complete.
We had previously formatted and installed software onto the hard dirve using software we have on the Macintosh that enables us to build Synclavier software and install sounds. 1000's of lovely FM patches and 100's of samples ready to be converted into new previously unimagined FM sounds with Resynthesis.Step 34
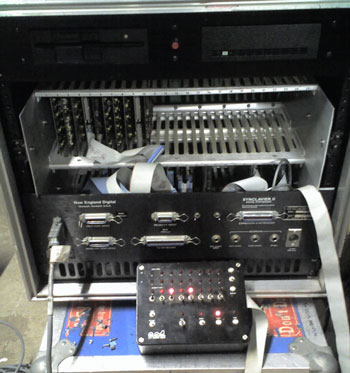
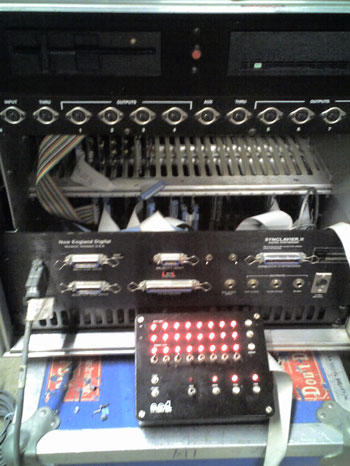
For the first time in its new short life the Sync II powers up and boots under its own steam. The three red lights that glow on the HOP box means that we achieved a successful boot.
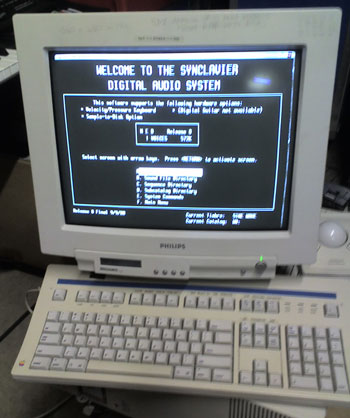
And here is the proof, the Synclavier Release 0 welcome screen. We are using the Mac purely as a dumb terminal, all processing and screen plotting is performed by the Synclavier's internal ABLE processor.Step 36.
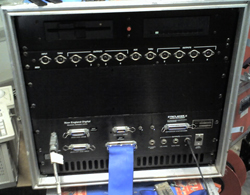
Now we fit enough MIDI ports to run an entire neighbourhood.
Shown here undergoing test, the lights on the HOP box flahing so rapidly that they appear to be all on.
Step 37.
This is an invisible step. The observant among you may have noticed that the front panel has been fitted in the photos of this page. We had rewired and fitted connectors where needed to the front panel. Because we upgraded the processor, support cards, and drives the cabling was no longer correct and no longer any use to us so had to be replaced. This was too boring to take a picture of and took a good deal of time with very little visual impact. (OK, we forgot to take before and after pictures0Here is the finished case after audio test has been completed.
Step 38.
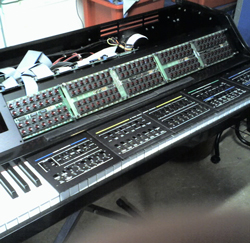
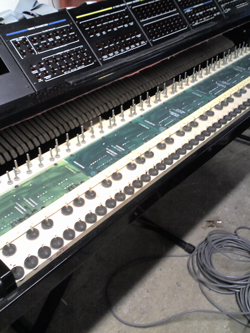
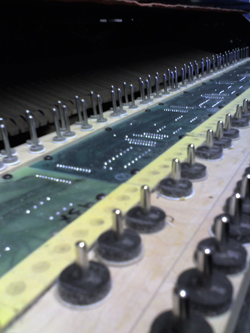
Now for the keyboard. Our final stage. Here you see the front panels removed to enable us to clean and lubricate the buttons. Sweat is our biggest problem, after years of use it gets into the buttons and makes then 'sticky' in operation. Since these are military buttons out of the B52 bomber they will be like new after a bit of spit and polish..
Each panel is cleaned of dust, dirt, drink, sweat and treated to preserve the fascia. Then Each panel is carefully lined up with the buttons to ensure they are not fouling the openings.
Step 39.
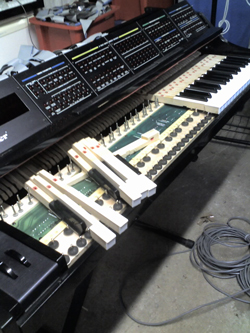
Removal and cleaning of keys. Under the keys dust and dirtaccumulates which can only be accessed by removing every key.
Each key is unique and can only fit in its own position. We take this opportunity to clean every key (they are wooden with a laqueured acrylic coating). The laqueur needs sweat and grime cleaned from it. We have a special cleaning solution that removes sweat and polishes the surface with no abrasion or damage and leaves no residue such as silicon which would feel bad and attract dust.It's a long laborious task but worth it when you see the keys gleaming like new again.Step 40.
The keyboard in the process of being reassembled. When every key is fitted then we test and calibrate every keys response to pressure and velocity. Every keyboard is unique to each machine and has its own data table of calibration which the computer refers to.
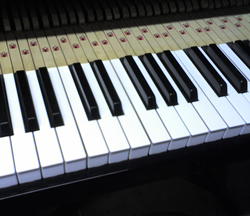
And finally the keyboard with gleaming teeth after a trip to the dentist.
Step 41.
The final stage. The complete assembled machine.(We will do a pretty, staged picture tomorrow. The machine deserves it)
Ready for collection.
We will update the pictures regularly until the upgrade is complete.
If you wish to purchase a fully restored Synclavier with a full warranty, please e-mail us at synclavier@500sound.com
Either close this page to return to the previous page or click here for the home page
ęCopyright 2005 The page, its contents and pictures are copyrighted by Synclavier Europe. Do not use any part of this page without express permission from Synclavier European Services. a whole new experience.
