![]()
![]() Synclavier
II restoration and upgrade
Synclavier
II restoration and upgrade
Page 5 of a pictorial record of the restoration of a Sync II in June 2005
Step 23.
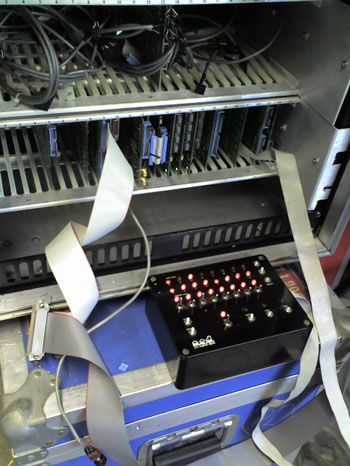
Before we go any further, we test that the power supplies and the main CPU are functioning as they should. For this purpose we use the HOP (Hand Operated Processor) box to run diagnostics and to trap errors.The box can be seen on the left with the red LED indicators, looking like something out of a James Bond film of the '70s. The trouble I had getting this box into Israel a few years back when I flew there would fill a short novel.
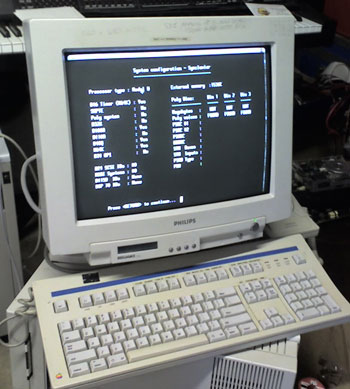
This is the diagnostic screen read out during a soak test. This can be left running indefinitely and will log any errors found during testing.
Step 24.
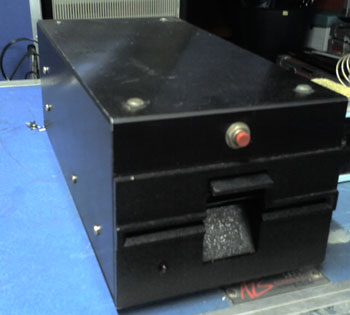
With the test running we turn to the disk drives. The drive on the left is the original Sync II drive which will have to be discarded for the upgrade we are doing.
Step 24a
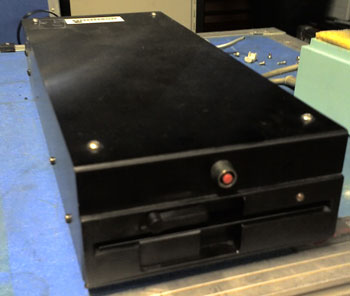
This is the later Superfloppy Drive which we will be using to replace the old floppy for this upgrade.
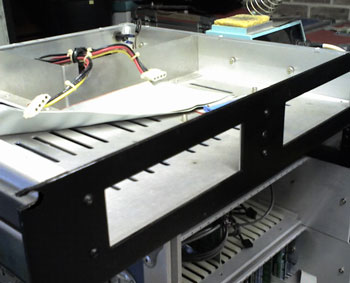
Since this is the deluxe upgrade we will be replacing the external drive cases with the later model Synclavier rack-mount drive unit. This takes the Superfloppy and a half height SCSI Winchester DriveStep 26.
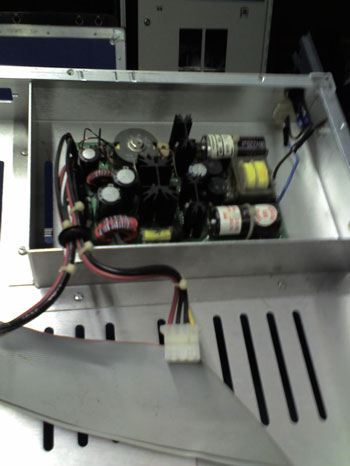
The 110V power supply on the right will be removed to be replaced by a new 240V unit. We will make new looms and replace the power connector as it had no earth connection.
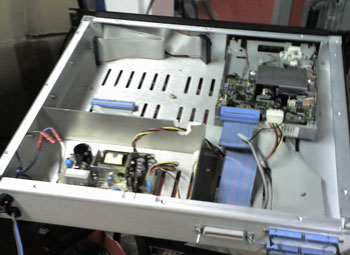
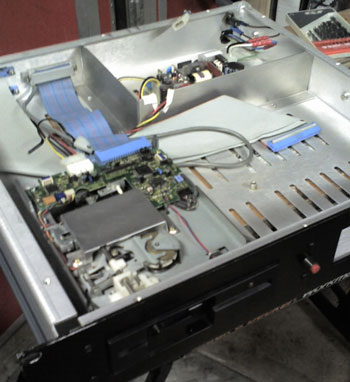
And here is the drive tray with the floppy installed, the new PSU, the power looms, the floppy cabling, and the SCSI cabling installed.
We also fitted the reset loom for the reset switch which we shall mount on the front panel.
The shiny new red reset button installed in centre of the drive tray front panel. The Winchester drive has yet to be fitted.Step 29.
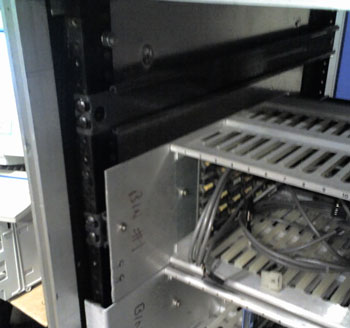
New runners are fitted to slide the drive tray on.
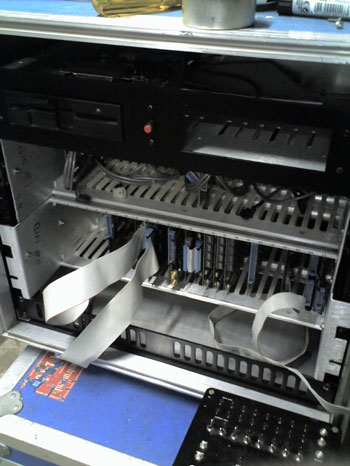
The drive tray is slid into place. It is then connected to the main CPU rack floppy interface card and SCSI card.
We will update the pictures regularly until the upgrade is complete.
If you wish to purchase a fully restored Synclavier with a full warranty, please e-mail us at synclavier@500sound.com
Either close this page to return to the previous page or click here for the home page
ęCopyright 2005 The page, its contents and pictures are copyrighted by Synclavier Europe. Do not use any part of this page without express permission from Synclavier European Services. a whole new experience.
